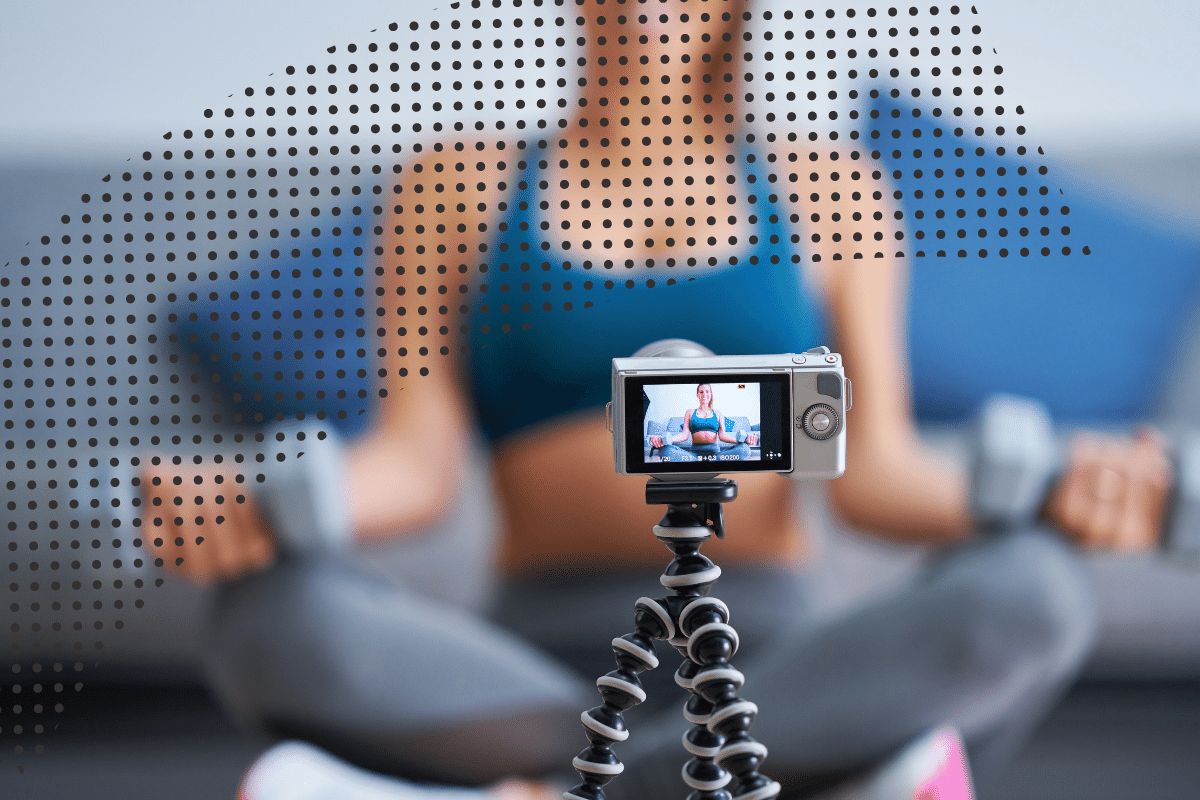
If you’ve started building out your online business and have developed some initial programs, then you’re well on your way to offering your fitness services. Great, time to get to work and build out coaching plans your clients will love. So what’s a great way to make engaging programs? Creating custom exercise videos.
While yes, one of the many benefits of Trainerize offers is that they have an already-done-for-you exercise library full of hundreds of exercise clips and demos. But why not add the extra branded touch and upload your own custom exercise videos?
Why, you might ask? Let’s go ahead and dive a bit deeper into the “why” behind this before getting into the “how”.
- Why create custom videos?
- How to plan your custom video exercise library
- Pro tips for filming your custom videos
- How to upload your custom videos
Why create custom videos?
Let your clients know it’s you:
As on online trainer you might hear comments like “Well, if I’m not training with you in person, how will I get your specific coaching style?” By creating custom exercise videos, your clients will know it’s you and your brand as these custom clips add that extra personalized approach to your client’s training programs. Trust me, they’ll love seeing you and will feel a closer connection training with you virtually.
Add your own exercises:
While the Trainerize exercise library is vast in the clips it provides, I’m sure there are still many of your own exercises you’d love to incorporate into this expansive library that again, truly show your specific coaching style. Using different pieces of equipment, trying new moves, using your own backdrop for filming. These are great ways to continue adding into your Trainerize exercise library that you can build for years and years to come.
⚡️ TZ Tip: Explore more reasons why creating custom exercise videos is a great tactic to grow your business: 5 Ways Custom Videos Can Help Your Business Grow
Enough of the “why”! Let’s get into the “how” of filming, editing, and uploading your own exercise clips and demos.
Plan your custom video exercise library
- Create a master list. Brainstorm all the movements that aren’t already available that you would like to integrate—and then make a list of all the ones you use from the Trainerize Master Library that you would like to shoot, too!
- Start small. Start with the most common exercises you use that aren’t currently available. Plan to shoot a few—maybe five—and then get them live. Then circle back to the list.
- Don’t be a perfectionist. Your videos need to be clear, educational, and understandable—but you don’t have to complete every exercise before launching your videos.
- Film when you’re already filming. If you’re someone who shoots Instagram Reels or YouTube and TikTok workouts on a regular basis, then block an extra half hour each time to shoot when you’re already set up!
4 tips for filming your custom videos
Lighting
Use a space with high-quality lighting. Indirect natural light is best, but artificial lights like ring lights can work too—just avoid harsh shadows by using indirect light as much as possible!
Background
Try to shoot with a clean background. Try an empty space in your home against a white wall or perhaps if you have a studio, using a space that resembles a gym. Avoid mess and clutter, you want your clips to be as professional as possible.
Audio
Use a microphone for talking through clips or even use a voiceover, added after shooting in an editing app such as Splice, so that you can convey clear, straightforward cues on demoing an exercise. Avoid any loud background noises and make sure the location in which you are filming has some kind of insulation to avoid said background noises.
Orientation
Film in landscape for Trainerize exercises. This will give you more space to use on your camera as well as avoid the black sides on your video if you were to film vertically. It’ll also transfer over to YouTube well, if you choose to go that route.
If you need to shoot vertically for social media, then shoot in a way that you can crop to horizontal—with lots of space around you. Then edit after shooting for the different platforms.
🔗 Everything You Need to Know about Filming Video Workouts
Two ways to upload your custom videos
1. Upload from YouTube:
Already have a library of exercise demos and clips? All you have to do is go to said YouTube web address, copy, and paste the link to your Trainerize exercise library. Go to “New Exercises” then select “Add New” and you will see a pop-up. Go to the dropdown menu and select “copy from YouTube”, here is where you will paste the YouTube link. Hit “save” and the video will pop right up. Learn more about uploading with YouTube.
2. Upload directly to Trainerize:
From your camera roll or desktop, select the MP4 file you’d like to upload to Trainerize. Using the same steps as above, rather than pasting a link, you will click and drag your MP4 file directly to the pop up box and voila, you’re all set. Learn more about uploading directly.
Great, that’s our quickstart guide to building your own video library of workout moves, which will supercharge your online training programs. We covered the “why” and the “how”:
- Why create custom videos?
- How to plan your custom video exercise library
- Pro tips for filming your custom videos
- How to upload your custom videos
You’re well on your way to creating custom exercise videos for your Trainerize exercise library! Start with planning out your library and start shooting! 💪🏼