With everything going on in the world, there has never been a time in modern history where connecting online has been as important as it is now.
For those of us in the fitness and personal training industry, that means taking our services and communication online, and what’s more engaging than turning your workouts into dynamic videos or interactive live workouts?
If this seems like a daunting task, or, if you just want some useful advice and tips you came to the right place! This is the “everything you need to know guide” to filming your own on-demand and live workouts.
PART 1: GEAR
Having the right gear can make a huge difference in the quality of your video content, but don’t worry because it’s not everything. There are videos on the internet that get millions of views that were filmed using basic equipment like a $100 webcam or an iphone. Billie Eilish won 5 grammys this year from an album that was recorded in a make-shift bedroom studio. What does this tell us? Craft and content quality are most important to success.
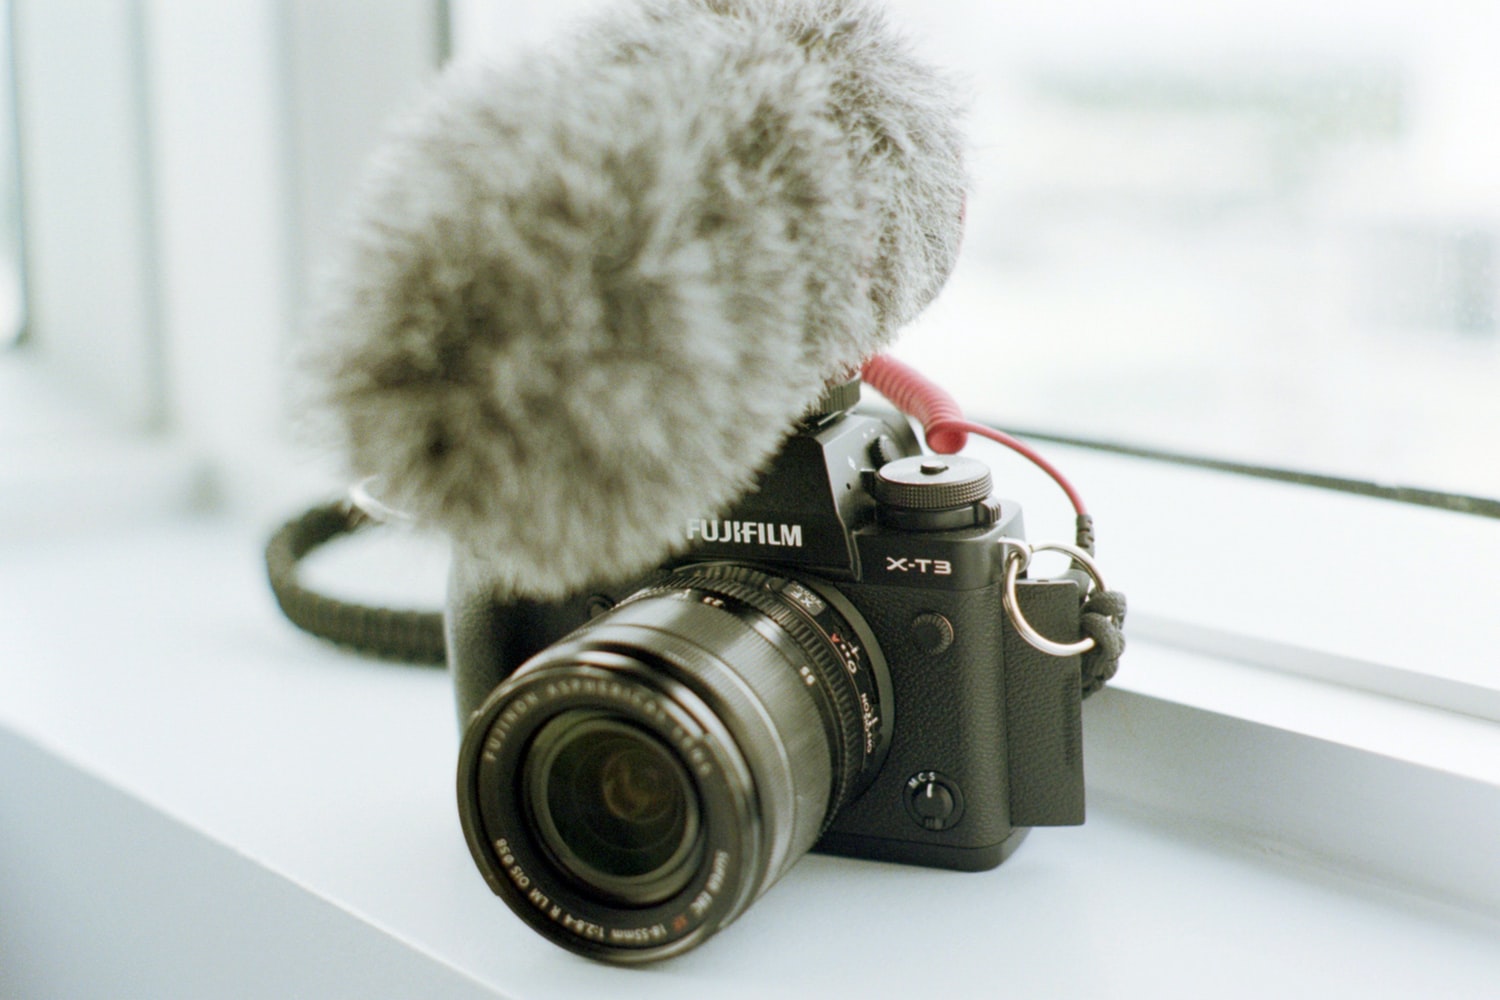
Camera selection
As photographer Chase Jarvis said, “The best camera is the one you have with you”. If you have a DSLR kicking around at home, awesome! But using your phone or even your laptop camera will work, too. Make sure to film your videos in landscape mode (unless you plan to only post your workout videos on a platform like IGTV, in which case feel free to film vertically). Having them in landscape will let you use them in more places and may even allow you to crop and repurpose them for different mediums and channels.
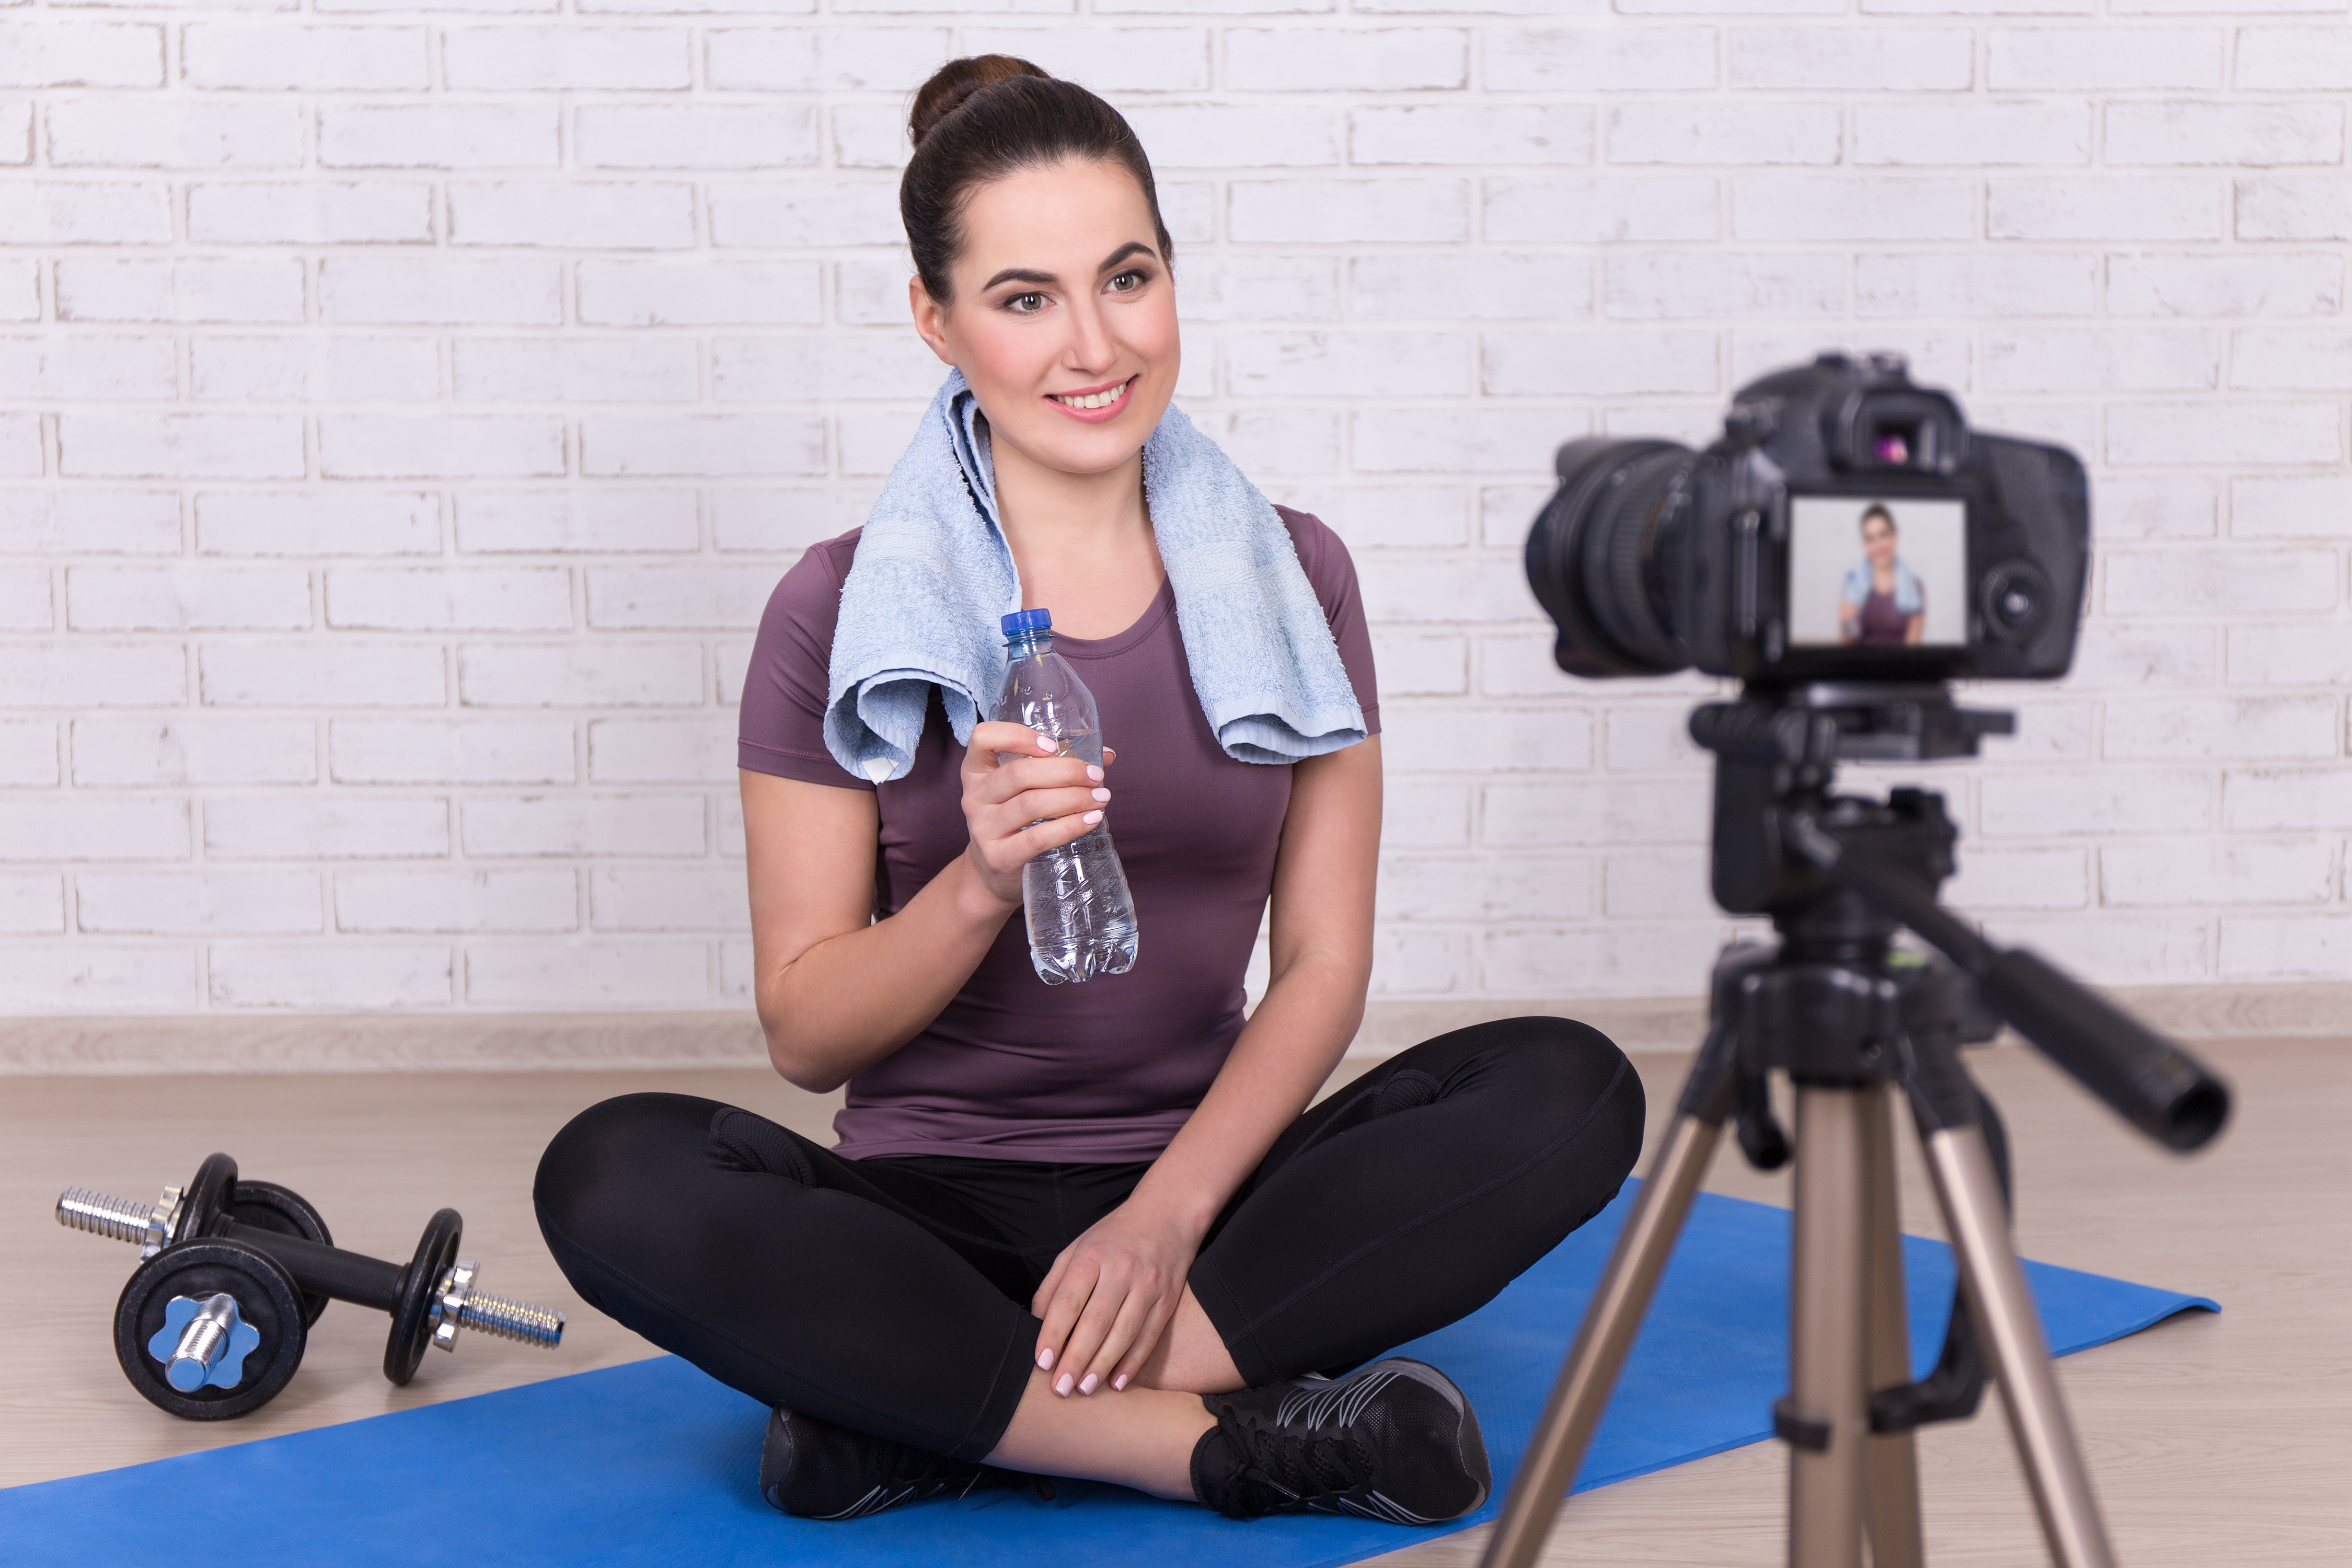
Tripods
A shaky camera can be at best distracting and at worst nausea-inducing, so it’s best to steady your camera as much as possible. If you don’t have a tripod to hold your camera or phone in place, create a make-shift tripod out of books or whatever you have laying around the house. Make sure you’re able to set up your camera at a good height that will capture your full range of motion or that will frame your face if you’re talking to the camera.
Lighting
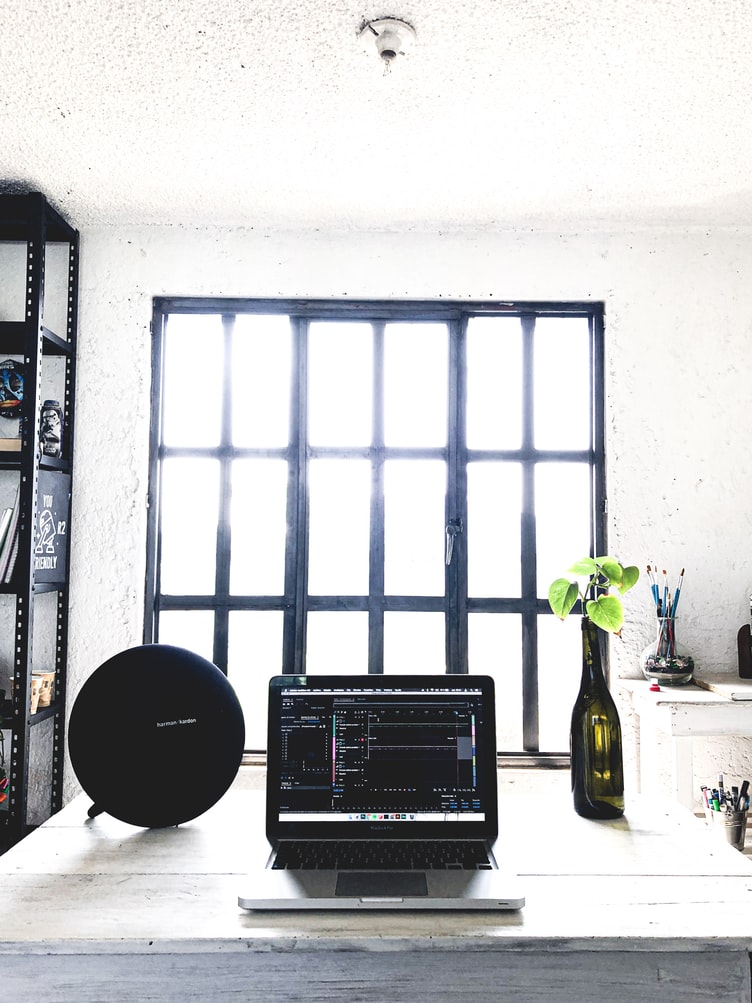
Lighting is one of the most important aspects of filming a video that looks high quality. If you have access to studio lighting, try opting for using a soft-box to diffuse the light. Most of us don’t have access to studio lighting or a ring-light, but that’s okay. Natural lighting from a window works just as well (if not better)!
Try setting up your camera in front of a window, facing the room that you will be filming in. Position yourself so that your body is facing the window (or light source) and the light is even. Try to film at times of day where the light is indirect (meaning that the sun is facing you head-on). Direct sunlight can create hard shadows that are unflattering and you’ll probably be blinded by the sunshine in the process. Once your lighting is set, it’s time to start considering the backdrop for your video.
Background
Your background will depend on where the lighting is best and where you will have space to move freely through your workout routine.
Ideally, try to find an area with a blank or neutral wall in the background to keep the video frame uncluttered. If however you’re shooting in a heavily used space like your living room or bedroom, make sure to, at the very least, clean up the space and declutter a bit before hitting record. Having messy objects in the background is distracting and looks unprofessional. Even if you need to temporarily move some furniture around, take the time to create a space that is as visually inviting and won’t distract your viewers.
Sound
Sound is another factor that can make or break your video quality.
Audio for informational videos: If your video is highly informational (such as a video explaining the science behind building your muscles), you will want to be more intentional with sound. For these types of video, I recommend positioning yourself much closer to the camera so that the audio gets picked up—assuming you’re using a camera with a built-in microphone.
If you have a newer iphone the audio quality is actually quite good, so by positioning yourself a foot or two away from the camera, you will have no problem getting clear audio. Or, you could also buy a simple USB mic that plugs right into your computer. A great option is the Blue Yeti Microphone, which you can pick up on Amazon for $100-$250.
Audio for workout videos (with little to no narration): If your video format is going to be based on your workout routine, where you’ll be demonstrating more than you’ll be explaining moves, audio doesn’t have to be as much of a focus. You can often film these with less audio and add subtitles to explain what exercise you’re doing (we’ll touch more on that in the editing section of this article).
However, if you really want to connect with your audience and provide information through each exercise, you can buy a simple lapel mic that clips on your shirt and plugs into your phone. This will give you the freedom to move around without losing sound quality. These mics can also be purchased on Amazon and are anywhere from $25-$50 for a decent, intro-level version.
PART 2: CONTENT
If you’re recording custom exercise videos to upload to your Trainerize account, the content will be pretty simple and straightforward. However, if you’re doing a live workout session or a more informational video, you may want to take more time to plan out the structure.
Before you dive into filming, make sure to structure your content so that you have a plan for each video. Decide on a topic and make notes about the points you want to hit on. Try to use these points as a reference but avoid reading from a script. Chances are, the topics you’re discussing are already something you’re an expert in, so take a conversational approach and speak as if you’re explaining it to a friend.
As you’re planning out your content, here is an example of a structure you could follow:
→ Introduction: Greet your viewer and explain who you are and some of your credentials to build credibility with your audience.
“Hi my name is Sarah and I’m a personal trainer who specializes in rehabilitation.”
→ State the topic and objective in the video:
“In this video I’m going to teach you 4 exercises to improve hip strength and stability after an injury. You will learn how to properly perform each movement and a small workout routine you can do 3x per week to slowly rebuild hip strength and alleviate pain.”
→ Exercise A + tips
→ Exercise B + tips
→ Exercise C + tips
→ Exercise AND + tips
→ Workout routine + tips
→ Conclusion and call to action
Wrap up your video by thanking your audience and leaving them with a strong call to action. A good call to action may include telling them you have other videos available and to check them out. You could also share where they can find more of your content either on your website, your Trainerize.me page, your instagram, or a designated landing page.
TZ TIP: Let your personality shine! There are millions of hours of workout content online, so don’t be afraid to share your unique personality in your videos. Don’t be afraid to be yourself because the more authentic you’re able to be on camera, the more people will feel personally connected with you.
PART 3: EDITING
Once you’ve recorded your content, it’s time to edit! Most computers have some sort of Movie Making software built-in. Whichever software you have access to will work just fine.
Upload your content and you can start arranging clips in the timeline.
Titles
Use titles to help underscore important information. For example, if you’re doing a Reverse Lunge in the video, you can create a title that says the name of the exercise and how many reps your viewer should complete per side. You can also use text and titles to emphasize tips and make the video more easy-to-follow. As you’re creating titles, make sure you choose a font that is easy to read.
Music
Music is a really great way to set the tone of your video. Make sure to include music that is “copyright free”, which means you have the right to legally use it. You can find copyright-free music on Soundcloud, Youtube or on google. Do a preliminary search to find some music that suits you. After you add it in the timeline of your video, make sure to adjust the blume so that it doesn’t overpower your narrative if you’re speaking.
Keep it simple…or don’t
When you’re editing, don’t be afraid to keep it simple. Your video doesn’t have to be fancy, it just has to deliver quality information to your viewer. But, if you enjoy editing and enjoy the creative process, feel free to add your own personal style into the video. The more often you repeat the process, the more you will fall into a groove and develop your own approach. I personally find video editing to be an intuitive process, like making a soup from scratch. As you’re creating a recipe, you may notice “I feel like it needs a little bit of x”, or “This would be way more interesting if I added y”. Follow your intuition and experiment as you go!
Give your clients a digital fitness experience.
Start your free 30-day trial of Trainerize.
PART 4: ON DEMAND VIDEOS:
If you would prefer to LIVE or on-demand videos, there has never been an easier time to do so. There are tons of platforms that allow you to go LIVE. In this case, you will still want to follow STEPS 1 (Gear) and 2 (Content), but rather than pre-recording and editing, you will perform your content in front of a live audience and have it recorded online.
Each platform differs considerably, but here are some options worth trying:
Facebook Live/ Instagram Live (Free): This method of on-demand video is great for connecting with your existing network and Facebook friends or Instagram followers. This method is free and chances are you already have an account on both platforms so getting started is easier.
YouTube Live (Free): Youtube is the internet power-house of video. For this reason, their LIVE platform is very intuitive, and unlike FB/ IG acts as a search engine. This means your content is more likely to be discovered by a new audience.
GoToWebinar (Paid): The GoToWebinar service is paid but is designed to be integrated into your existing business operations. For example, Gotowebinar has built integrations for other platforms you may already use like Hubspot.
Zoom (free/paid): Zoom is another platform designed for business, conference calls, virtual meetings and more.
Depending on your business type, select the On-Demand platform that best aligns with your business.
CONCLUSION
With all these steps in mind, you’ll be well-prepared to film your first video or create your first On-Demand Workout. Based on this article it may seem like there is a lot of information and tons of steps to follow. But my biggest piece of advice as a professional producer is that your first video doesn’t have to be perfect! Perfection is the enemy of progress, and each time you create a video it will get a little bit easier and the outcome will be a little bit better. Just keep it simple and focus on delivering information that really adds value to your viewers!
Best of luck, happy filming!