Have you considered creating workout video content for your online personal training programs? In this post you’ll find some helpful tips and tricks to create stunning workout videos for your clients.
First and foremost you’ve got to plan exactly what you’re going to film. My recommendation is to film the basics first (no more than 5 or 6 on your first shoot) so that you’ll have the most bang for your buck. This will obviously vary depending on your training style and the workout programs you normally create for your clients. For example, if you specialize in weight lifting, you’ll want to film squats, deadlifts, or bench press first. The key here is to start very slowly building your workout video database and acclimating yourself with the entire video shoot process.
Some questions to ask yourself during this stage include:
- Where am I going to film this?
- What exercises am I going to film?
- What frame will this be shot in? (i.e. from the side? The back? Standing? Sitting?)
- What exercises can be shot with the same framing? Will I record these all at once? (For example, planks and pushups require a similar low-frame)
- What light source am I going to use? (Natural light? Artificial studio lights?)
- Am I going to pay someone to record this for me?
- Am I going to record this myself? If so, with what device?
- Are these videos going to have audio? If so, what will I record this with?
- Will I hire someone to edit this footage for me? If not, will I learn to do this myself?
- If applicable, what software am I going to use to edit this footage?
- How am I going to upload this content? Will I be using YouTube? Trainerize’s Video Drive?
You’ll want to have this planned far in advance because it will save you a great deal of time when it comes to your shoot day.
Secondly, you’ll need to have a successful shoot. Through trial and error I’ve learned the following general rules for my shoots. Keep in mind, this is my personal experience and you will undoubtedly run into your own problems on your shoot day. This is totally normal!
Don’t wear clothing that has tight patterns such as stripes, dots, etc. as they produce a phenomenon called the moire effect. This effect causes a distortion in your clothing on video and is incredibly distracting. Ladies beware, some compression garments cause this effect.
1. Don’t wear clothing that is too dark or too light, especially if you aren’t using studio lighting.
There may be instances where you are indistinguishable from your background. Unfortunately, if you try and lighten your video to create more contrast in the editing stage you’re likely to have a grainy and low-quality video.
2. If you’re filming outdoors try and film on a cloudy or overcast day or as close to sunrise and sunset as possible.
Your videos may turn out poorly coloured if you try and record in mid-day sun. If you are filming indoors try and find a spot that has good even lighting. Avoid direct sunlight or shadows as they will make the videos inconsistent. You can also rent or buy some inexpensive lights that will balance out the light and create a professional look.
Curious about how workout videos can increase your brand recognition?
3. If you’re going to have audio with your videos don’t try and rely on the audio from your camera.
In my experience, the on-board audio is usually low quality. It’s also highly recommended that you use a shotgun microphone for exercise demonstration as some other microphones (like a lavalier) will cause very loud distortions on your audio. Even the smallest rub of fabric, hair, or hands near the microphone can ruin your take.
4. Try and record workout videos with similar set ups, together, if possible.
Don’t underestimate the time it takes to set up a new shot; especially if you plan to shoot more than 5 exercises that day.
5. Beware that most fluorescent lighting or high frequency lighting will cause a flickering effect on your videos.
Unfortunately, this lighting is commonly found in your local gym. This flickering is undetectable to the human eye, but not to your camera and can ruin an entire shoot.
6. Don’t underestimate the power of small details.
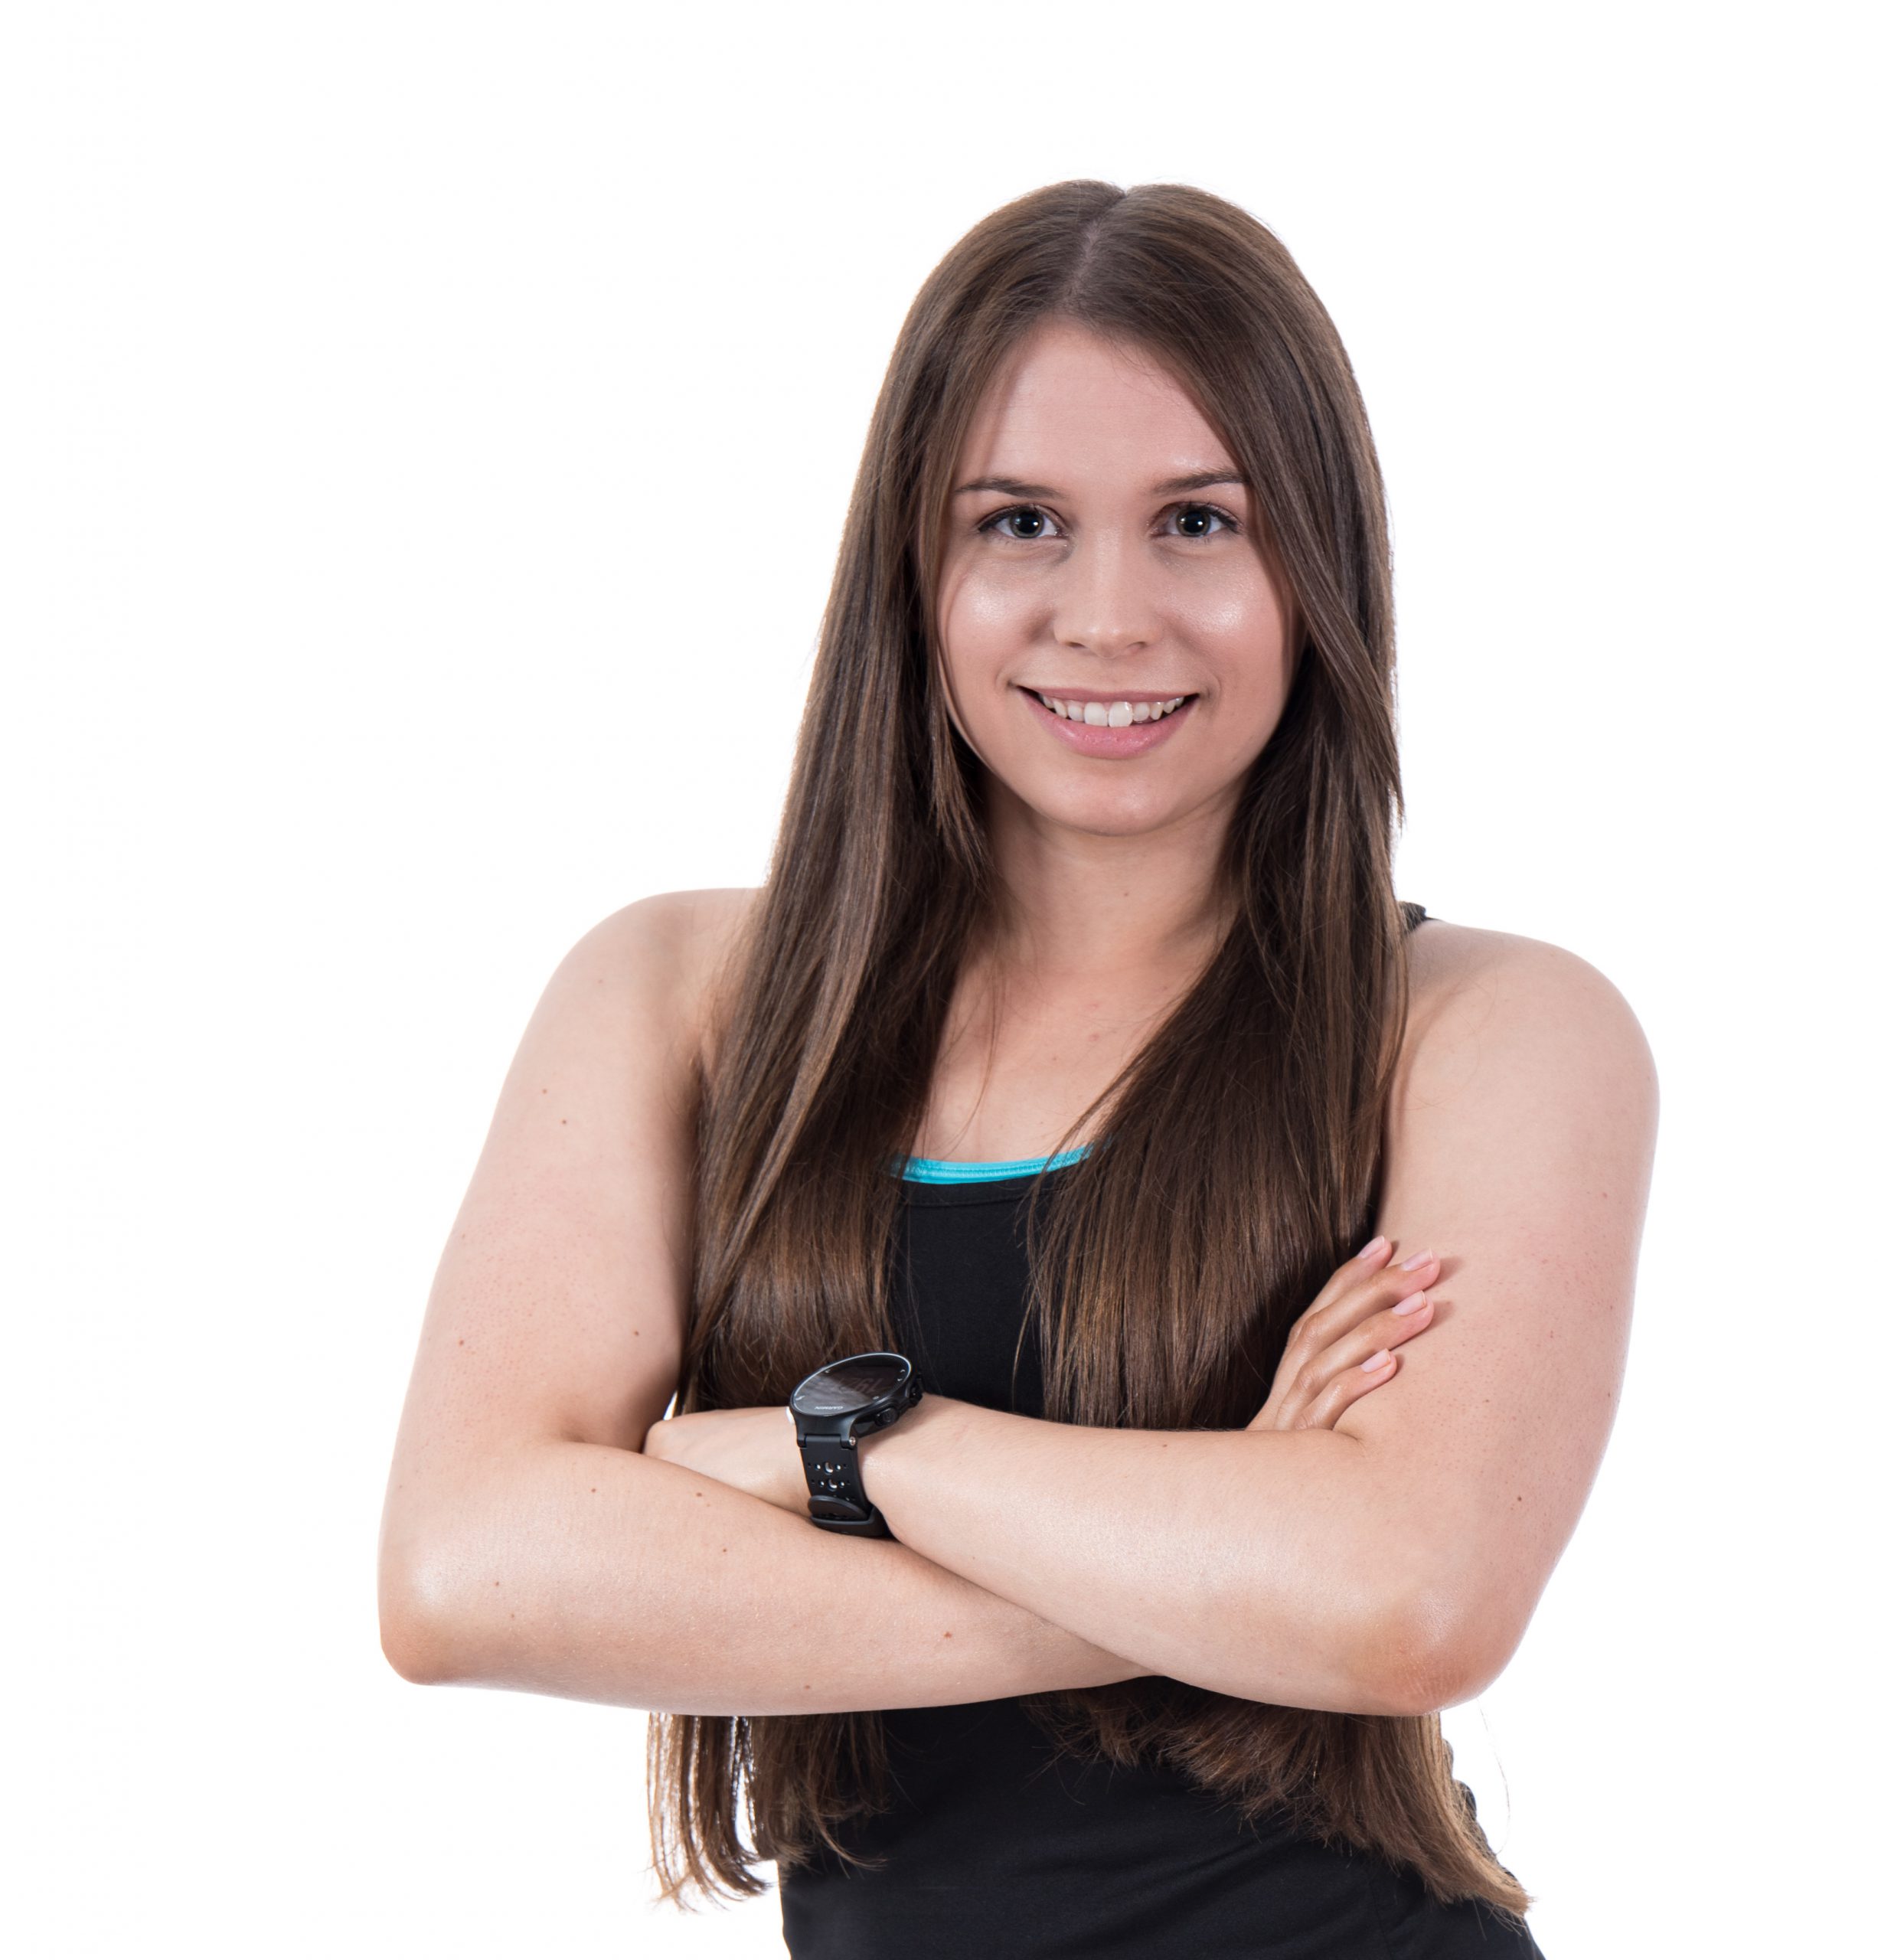
You’ll want your outfits scheme to work well with your skin tone/hair colour/eye colour. Make sure your teeth are clean, and whitened, if applicable. Women will want their nails manicured in a dark colour and men will want their nails clean, cut, and buffed, if applicable. Between shots, you’ll want to make sure that hair is free from fly-aways and that clothing is properly aligned. Believe me, these small details really add up to your end-product. Nothing is worse than that slight wedgie, chipped nail polish, and piece of broccoli in your teeth!
By following the above rules you’re more than likely setting yourself up for success.
Propel your fitness business beyond the competition.
Start your free 30-day trial of Trainerize.
7. Edit your videos and add your brand personality
Once you’ve got your videos and audio ready to go, you’ve got to edit this content. Surprisingly enough, this process generally takes longer than shooting your workout video content. Now, this will be highly individualized, but I personally use Adobe’s Premiere Pro for my video editing. It’s reliable, easy to learn, inexpensive and I can deduct it as a business-expense. Don’t worry though, there are plenty of free editing software options on the market if you don’t want to invest in the Adobe suite. Do your research!
Lastly, you’ve got to upload your content. Now there are two main options for uploading content to the Trainerize exercise database. Firstly, you can upload your content to YouTube. Your content is available at any time on your YouTube account to link to clients, friends etc, but anyone can access this content for free. Even with the ‘unlisted’ option there is a chance that people may have access to your workout videos even if they aren’t your paying client. Secondly, you can upload your video content directly to Trainerize through the built-in Video Drive. This will ensure that only your online training clients have access to these videos. This costs money, but it’s a small price to pay safeguard the privacy of your hard work.

